


It is quite a while (several computers ago) that I installed XAMPP for the first time and, although other solutions as Docker or virtual machines are better for projects which require a totally customized environment, I still keep on working on the same XAMPP installation for projects based on the AMP stack (Apache, Mysql and PHP).
If you have a XAMPP already installed in your computer it is quite probable that, as me, in any moment you wonder what to do to try your projects on a different PHP version.
Although there are ways to have different XAMPP versions installed on the same computer, running on different ports, the solution I found was in the end much easier.
1.- Download the desired PHP version
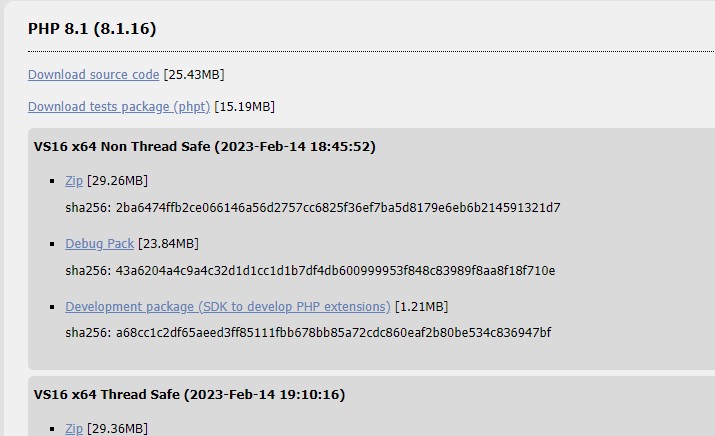
Go to the Downloads section of the official PHP site and dowload the PHP version you want to install in your computer.
In this case I will download the ZIP file of the last stable version for the PHP 8.1 for Windows.

Unless you have specially setup your Apache web server with specific security option to handle requests using threads, the Non Thread Safe version must be the one you want to install.
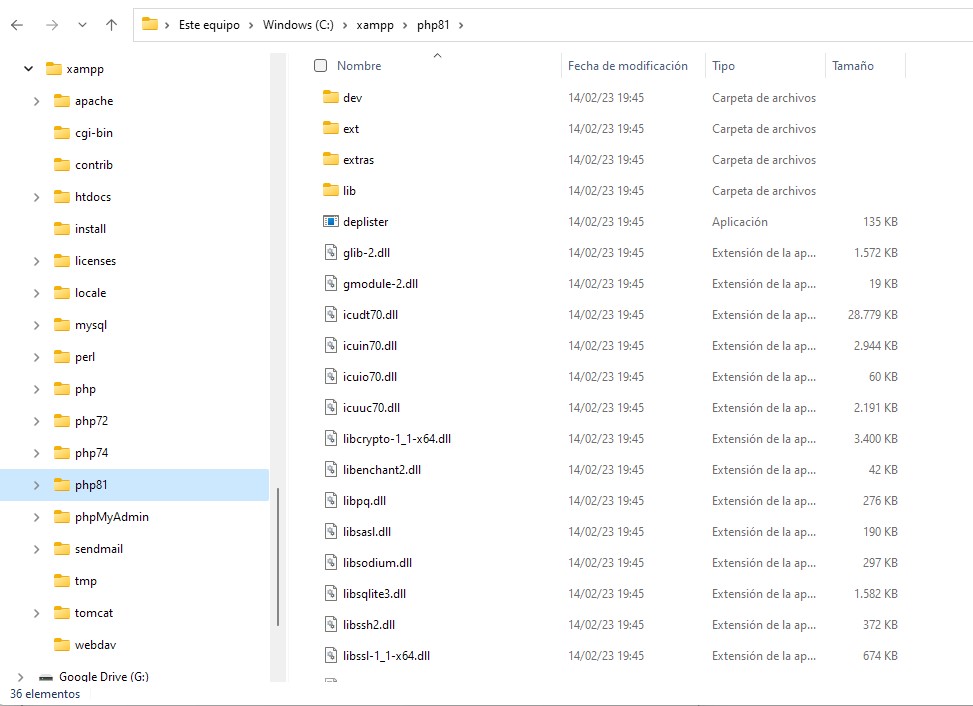
2.- Unzip the downloaded file in a new XAMPP folder
Open the dowloaded file and uncompress it into a new folder in the XAMPP one. I recommend to use the PHP version for the name of that folder, for this example I unzip it into a new C:\xampp\php81 folder.
3.- Create the php.ini file
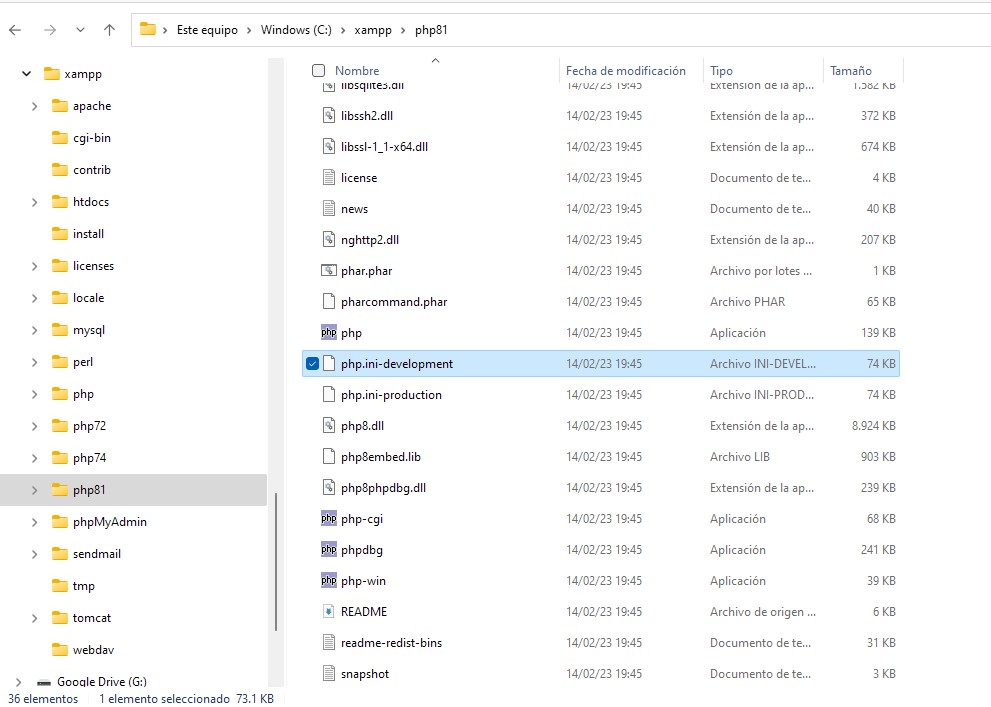
To be able to customize and put your new PHP version to work you need to have a PHP.ini file inside the new version folder.
Normaly, the distribution ZIP file contains inside 2 files named as php.ini-development and php.ini-production containing the basic setups for both kinds of environments.
Choose the one which fits your needs better and rename it into php.ini (if it is your test server, normally the php.ini-development file is the one you should rename).
4.- Customize your php.ini file
Once we have a php.ini file, it is time to set it up with the options we require.
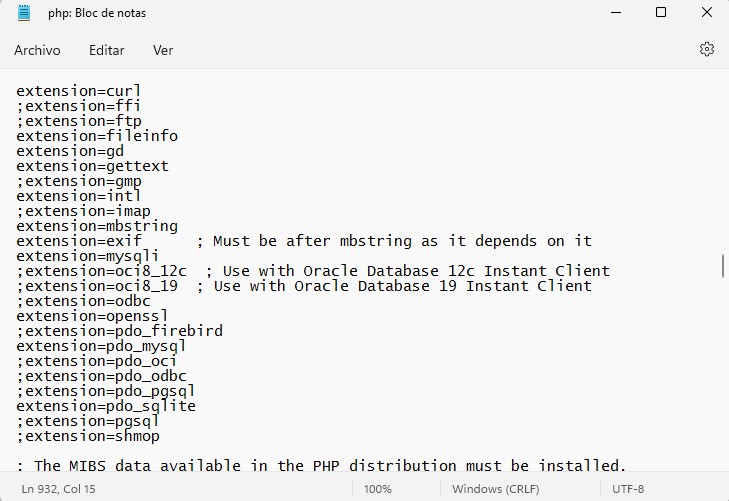
For that we must edit it and add or comment the options you need for your projects.
For example, one crucial thing to do when working on a Windows system is to uncomment this line which indicates the path to the extension modules.
; On windows:
extension_dir = "ext"
In my case, I usually modify the values of certain other parameters as error_reporting, short_open_tag, memory_limit, post_max_size, upload_max_filesize, upload_tmp_dir, curl.cainfo and openssl.cafile, and adapt the extension modules to my needs.
5.- Add the new PHP version to Apache
Now it is time to add the new PHP version to the Apache setup. For that, we need to edit the httpd-xampp.conf file (normally at C:\xampp\apache\conf\extra) and add at the end of the file the ScriptAlias pointing to the new PHP version folder.
ScriptAlias /php81 "C:/xampp/php81"
# Action application/x-httpd-php81-cgi /php81/php-cgi.exe
<Directory "C:/xampp/php81">
    AllowOverride None
    Options None
    Require all denied
    <Files "php-cgi.exe">
        Require all granted
    </Files>
</Directory>
6.- Switch to the new PHP version on the project virtualhost
At this point, we are raedy to change the default PHP version on the desired project.
For that, we must edit the httpd-vhosts.conf (usually at C:\xampp\apache\conf\extra) containing our virtual hosts list , locate the one which we want the new PHP version to run on, and add the instance of the new PHP version we want to execute the PHP files with.
<VirtualHost *:80>
    ServerAdmin postmaster@dummy-host2.localhost
    DocumentRoot "C:/xampp/htdocs/carlosperez.io"
    ServerName lan.carlosperez.io
    ServerAlias lan.carlosperez.io
    ErrorLog "logs/lan.carlosperez.io-error.log"
    CustomLog "logs/lan.carlosperez.io-access.log" combined

     UnsetEnv PHPRC
     <FilesMatch "\.php$">
         php_flag engine off
         SetHandler application/x-httpd-php81
         Action application/x-httpd-php81 "/php81/php-cgi.exe"
     </FilesMatch>
</VirtualHost>
7.- Restart the Apache server
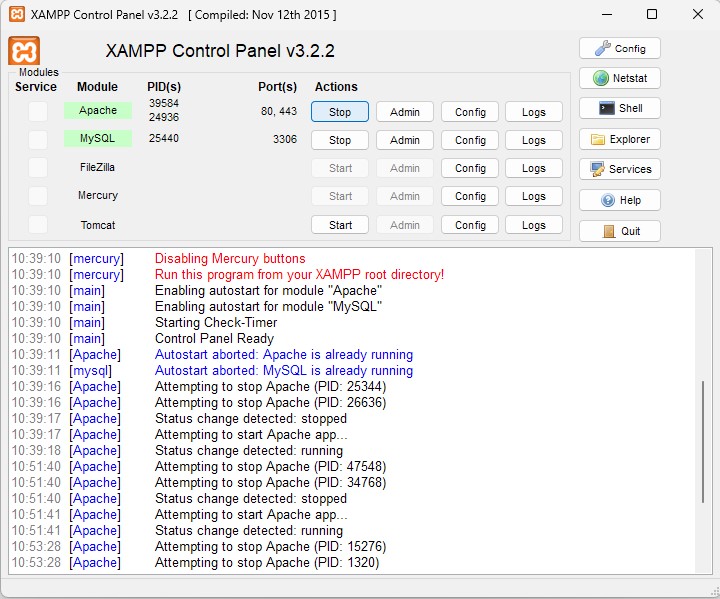
Now we need to restart the Apache server of our XAMPP installation in order all these changes to take effect.
For that, we can open our XAMPP Control Panel app and press first on the Stop button beside Apache and then the Start button on the same place.
8.- Check that the new PHP version is running
We can easily check that the new PHP version is running on our development domain by creating in it a phpinfo.php file containing the echo os a phpinfo() function.
<?php
  phpinfo();
?>
Then we need to open our browser and introduce the URL of this phpinfo.php file in our test domain and check if the PHP version is the one we have just installed.

And that is the whole process to have different PHP versions running on your XAMPP server.
Hope this is also useful to you and feel free to leave me any comment.


Leave a Reply